2B Installing Digital Die-Cutting Label Stock
Digital Die-Cut Labels. If you are using the Printer to digitally die-cut your own shapes and sizes only Primera label stock can be used. This media comes from Primera with a smart chip that identifies the media, tracks the percentage remaining and automatically sets the sensor type to continuous. You will know it is installed when you see the Digital Die-cut Media percentage in the upper right corner of PrintHub. If you do not see this indication, the digital die cutter will not be enabled and you will not be able to cut shapes.
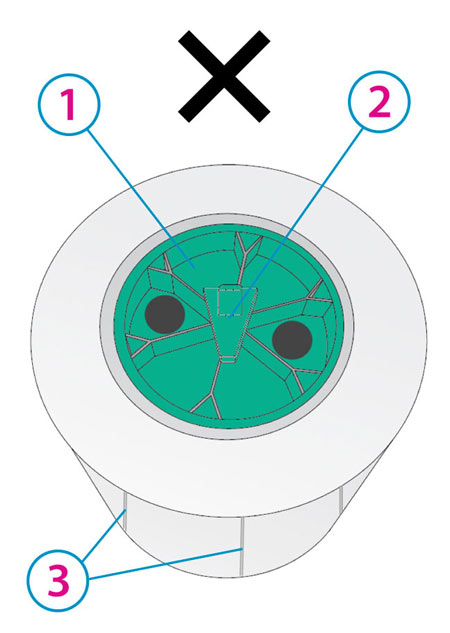
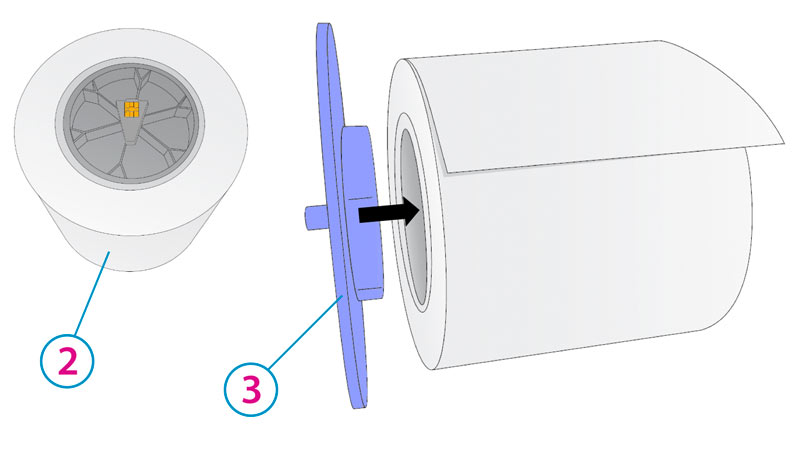
Pre Die-Cut Roll
(User must install Green Hub)
1Green Hub
2Blank Chip Holder
3Die Cuts
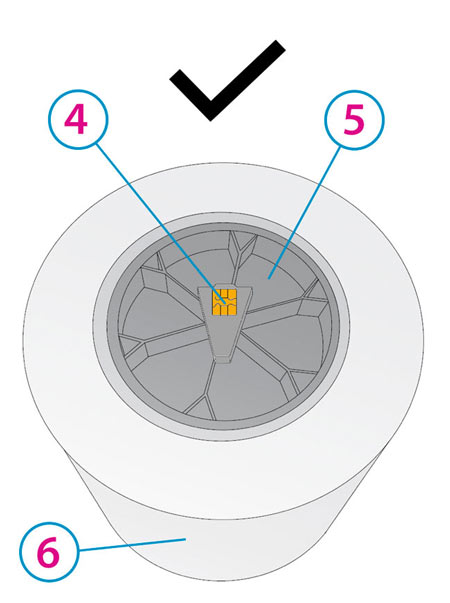
Digital Die-Cut Roll
(Hub/Chip comes preinstalled)
4Smart Chip
5Black Hub
6Continuous Media
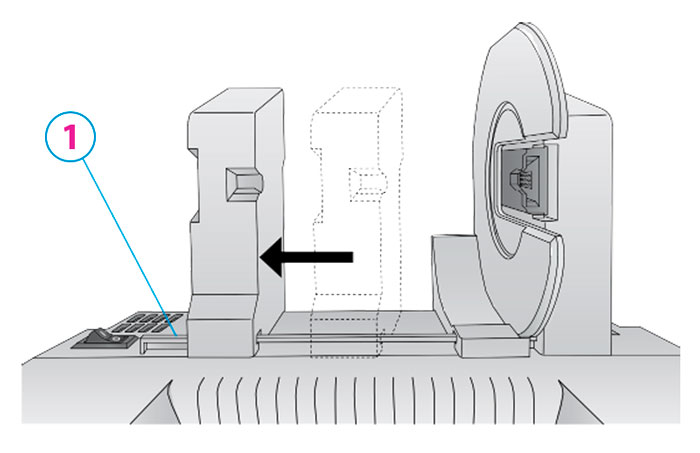
- Move the roll holder to the preset position for on demand digital die-cutting (3rd mark from the left – 31.75 mm (1.25”))
- Install the Blue Hub on the open side of the digital die-cutting media.
- Set the roll in place so that the blue pin sits in the notch on the roll holder.
- Make sure the gray chip holder fits in the green slot on the roll holder.
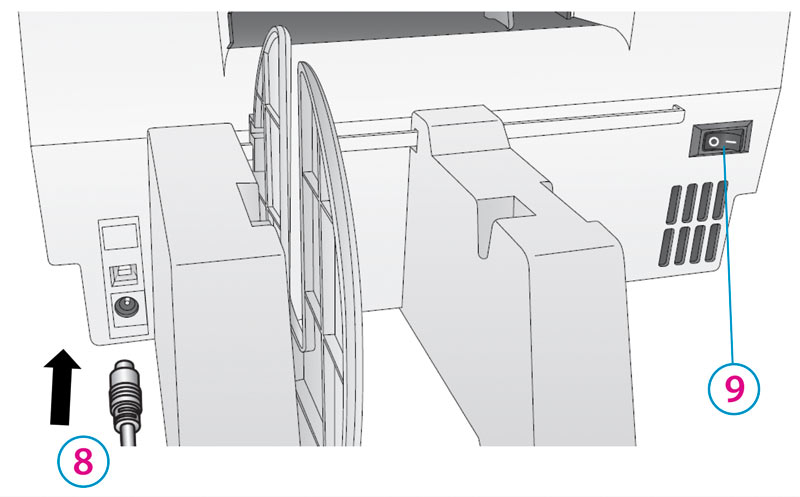
- Before feeding the stock, you must plug-in power and switch on the Printer.
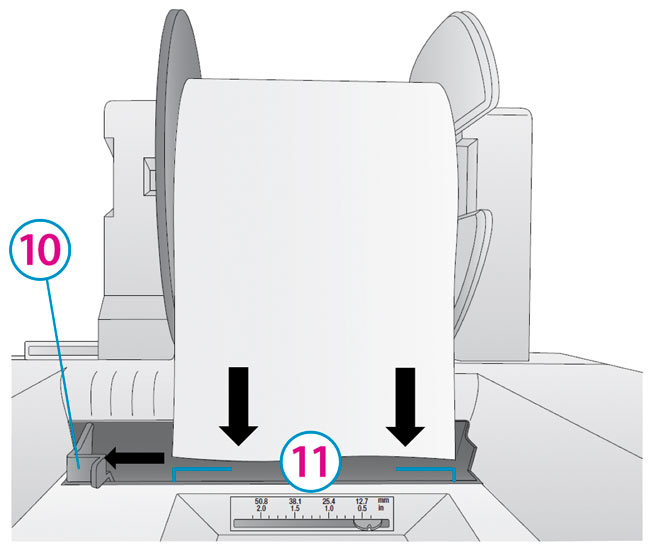
- Guide the leading edge of the roll into the feed area. Move the blue guide to the far side. Align the media with the “Continuous Stock” marks in the plastic infeed area.
- Push until the Printer detects the stock, grabs it and pulls it through the Printer.
1Move to third mark from Left
Note: The green hub is not needed for digital die-cutting and can be stored in the notch on the movable holder.
2Digital Die Cutting Media comes with black hub with gray chip holder.
3Blue Hub
4Notch
5Blue Pin
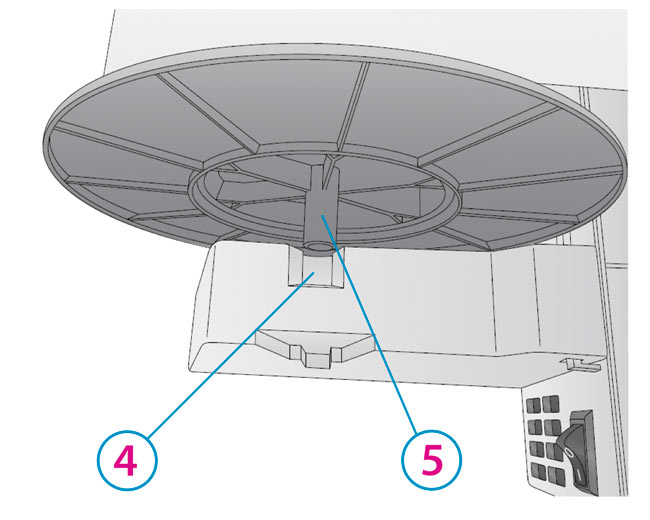
6Gray Chip Holder
7Notch

8Power Cable
9Power Switch
10Blue Guide
11Continuous Stock