Section 3: Loading the Container
The AP360e/362e can apply labels to a variety of containers including wine bottles, soda bottles, jars, cans, etc. Depending on the container type that you are labeling, you have several different options. You may use the Container Pressure Arm to hold the containers against the rollers, but that may not be necessary. You may use one or both of the Container Guides. Use these steps as a guide for applying labels. Ultimately, you will find the method that is fastest for you, which may or may not include use of the Container Pressure Arm and/or one or both Container Guides.
- Lift the Container Pressure Arm to a height well above the imagined height of the container. (Figure 3-1.)
- Position the Container Idler Roller so that the container is at the highest possible position that is still stable. There are four optional positions for the Container Idler Roller provided by the notches in the side plates. If the Container Idler Roller is spaced too far from the Container Drive Roller the container will be positioned too low for the label to be applied. This will cause the label to fold, wrinkle, or eject above the container. The smaller the diameter of the container, the closer the rollers need to be positioned to each other.
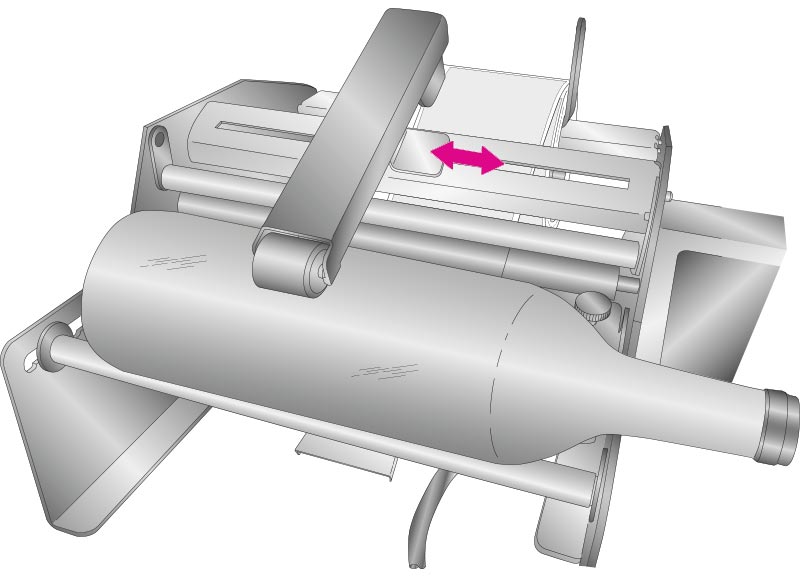
- Place the container on the Container Idler Roller and Container Drive Roller. Orient the container with the top to the left or the right, depending on the orientation of your labels on the label stock roll. (Figure 3-3.)
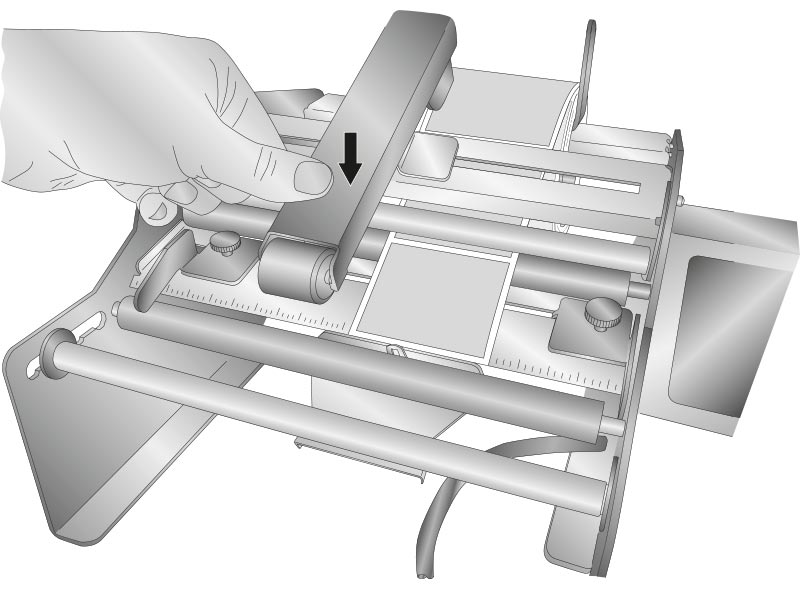
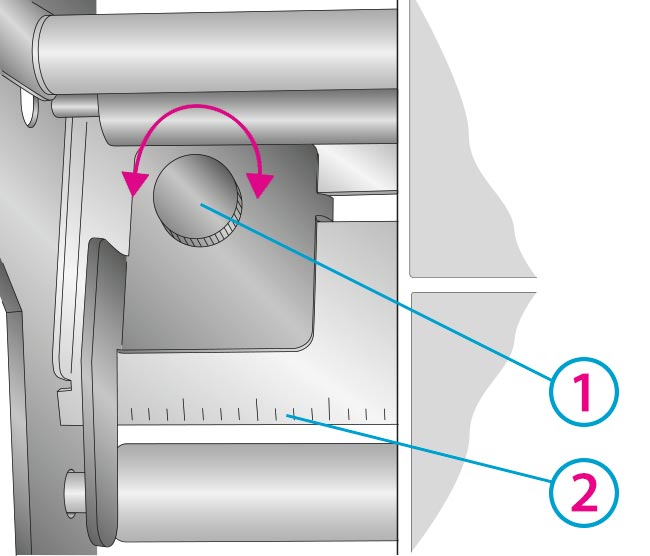
- Adjust the Container Guides so the labels will be placed in the desired location on the container. Since it is difficult to get the label stock in the same position each time, we recommend that you adjust the container relative to the label stock using the Container Guides. If you have several containers that have different labels for each it may be useful to record the distance between the edge of the label stock and the container guides for each job using the Position Scale. (Figure 3-4.)
- Once the Container Guides are in the correct position use the Thumb Screws to secure them in place.
- With the container in place, move the Container Pressure Arm right or left until it is roughly centered on the container. Push down on the arm until the roller on the end of the arm touches the container. Remove the container. Push down the arm approximately 1/2 inch more. Attempt to place the container back on the rollers. The goal is to easily be able to place the container, yet still have sufficient downward pressure on the container. This downward pressure is more important for smaller, lighter containers such as pill bottles. The Container Pressure Arm is optional for larger and/or heavier bottles such as wine bottles. (Figure 3-5.)
Figure 3-1.
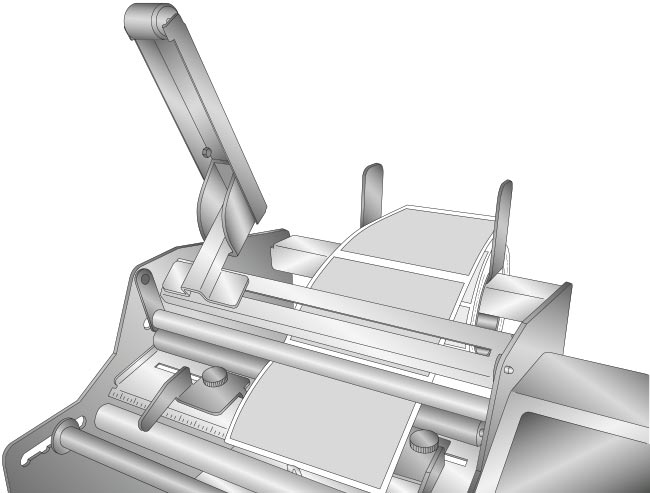
Figure 3-2.
1Idler Roller Notches
2Container Idler Roller

Figure 3-3.
Tip! Both Container Guides may be used, but for maximum efficiency, typically only one is used to position the container.
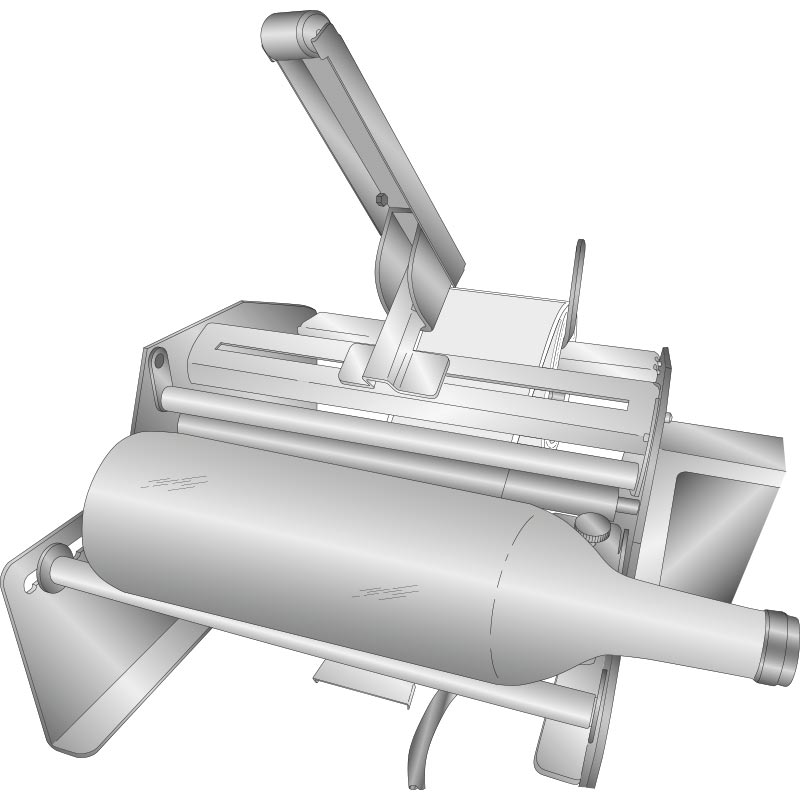
Figure 3-4.
Tip! If the label stock covers the Thumb Screw, try using the other guide and/or moving the position of the roll.
1Thumb Screw
2Position Scale
Note: Guides can be removed and swapped to accommodate narrower containers. To accomplish this it is only necessary to remove one of the guides. See Section 6 for instructions.
Important Note: For bottles with a neck such soda, beer or wine bottles only one Container Guide can be used. Move the unused Container Guide to the far right or left side of the labeling area. For cans or other containers that do not have a tapered neck, both Container Guides can be used, if desired.
Figure 3-5.