5E Creating a Full Bleed Print
To create a label that completely fills the space with no white margins, adjust these settings in the status monitor and printing application (BarTender). This is only necessary if you are printing to Pre- Die Cut Label stock. If you are printing and cutting using die cutting media, you can adjust the position of the cut line to accomplish this.
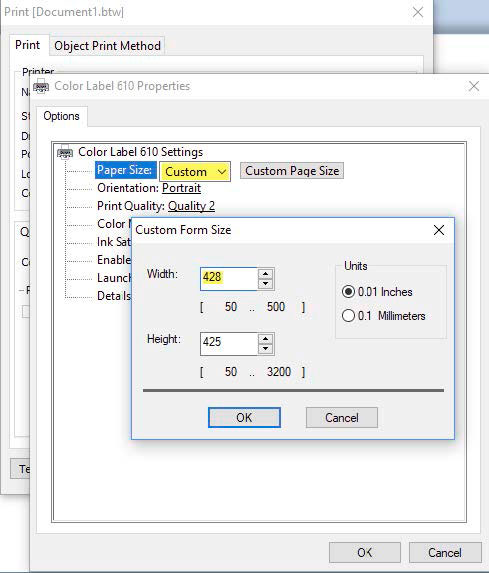
Page Size. Increase the page size width by .03 inches (1 mm). Increase the height by .03 inches (1 mm). If you are using BarTender, simply change the size under the File Menu - Page Setup. If you are using other graphics programs you will need to change the page size in the application and in the printer driver preferences.
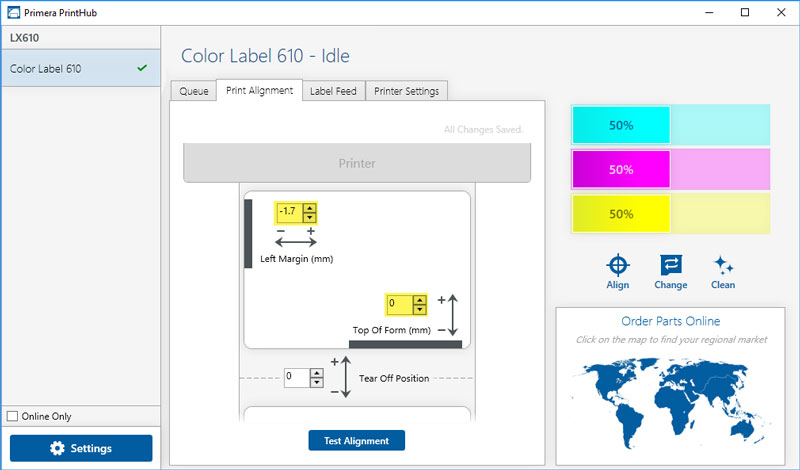
Left Margin Offset. You must decrease the left margin offset to center the over bleed on the label. If you over bleed by .03” you will need to decrease the Left Margin Offset by 0.4 mm. This will center the page size increase so there is a .03 inch over bleed on both left and right sides. Some additional adjustment may be necessary if the label was not perfectly aligned to begin with. See Section 4E.
TOF. Increase the Top of Form by 0.4 mm. This will cause the printer to start printing before the label and ensure a fully printed label. Some additional adjustment may be necessary if the label was not perfectly aligned to begin with. See Section 4E.
Note: It is best to over bleed as little as possible to avoid excess ink on the label backing. Also, over bleeding too much will cause the printer to skip labels. This is because the printer stops printing too late to sense the next label.