4E.3 Trace Image and create Cut Line
Tracing the images requires a flat file such as BMP, GIF, JPG or PNG.
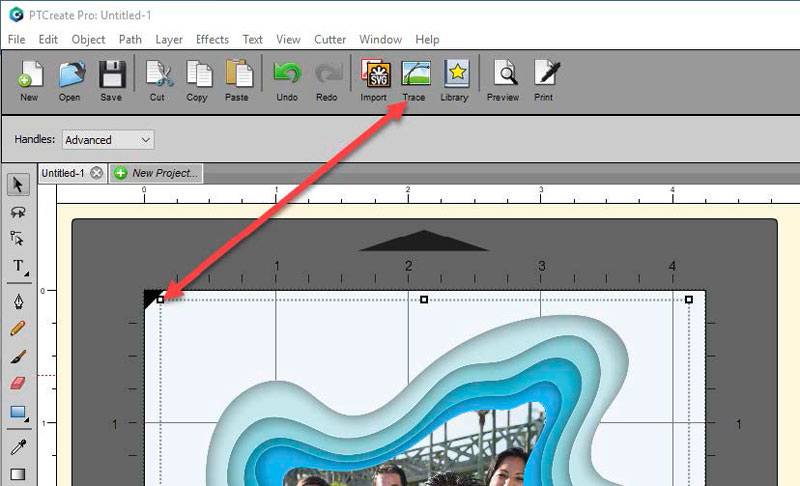
- Select the image object that you just imported. This is very important. You’ll know it is selected when the bounding box appears around the image. Now click on the Trace Icon.
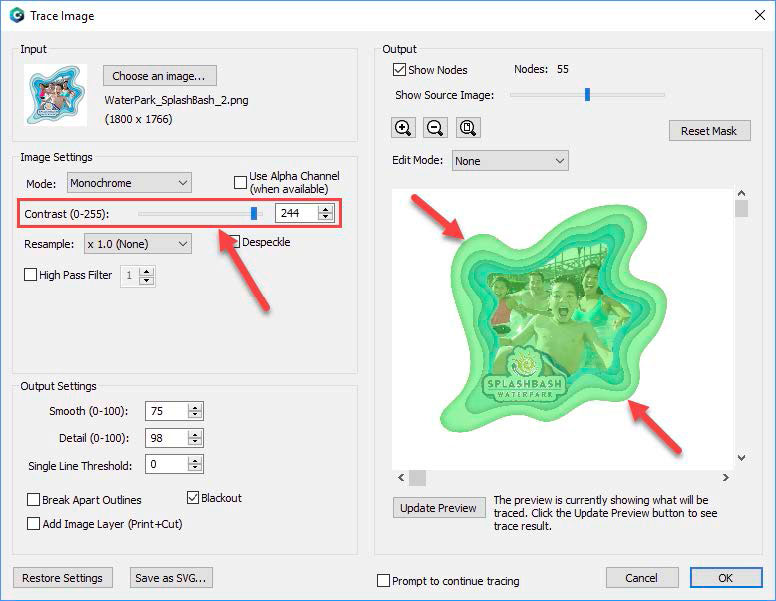
- There are many options available in the Trace Image window. However, the most important option is the Contrast. You should adjust the contrast until the preview shows a single green highlighted image in the shape you would like to cut.
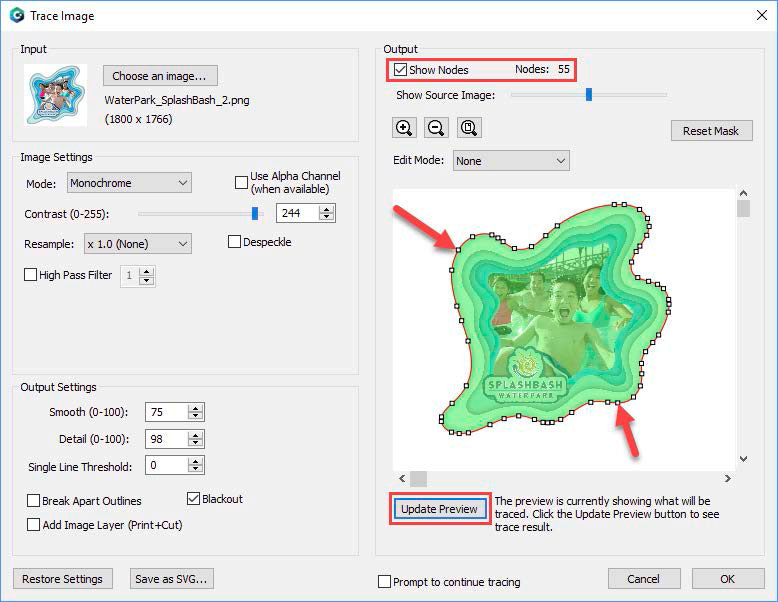
- Click Update Preview to show the cut lines and the number of points/nodes in your cut file (if you check Show Nodes). These nodes are the points on your image to which the knife will travel to cut the label. Don’t worry if your cut line isn’t exactly in the right position or size. We’ll adjust that later. At this point you are just looking for smooth lines that represent the correct shape.
- Note the difference in the preview when you increase and decrease the contrast.
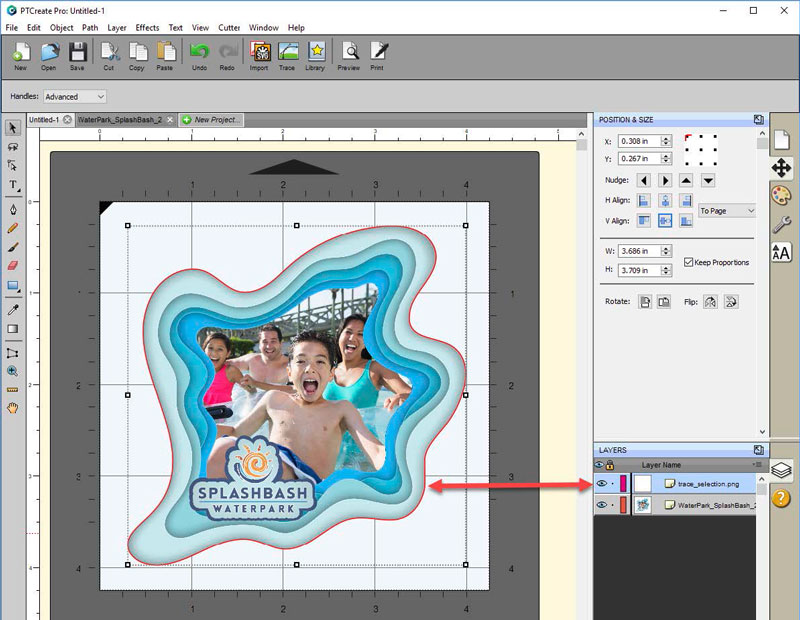
- Click OK when you are happy with the shape of your cut line. The cut line will appear on top of your image as a red outline. You’ll see a trace layer appear in the layer window.
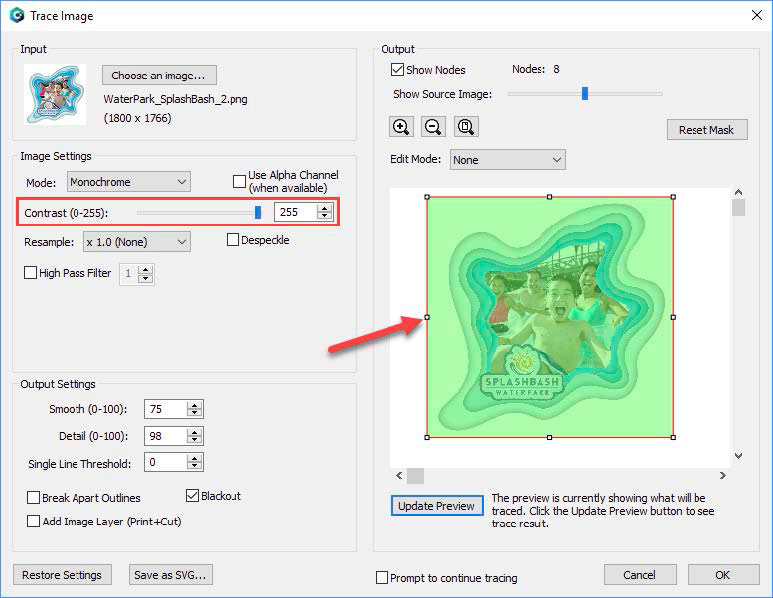
Contrast to High: If contrast is too high you will lose the shape detection and end up with a rectangle cut.
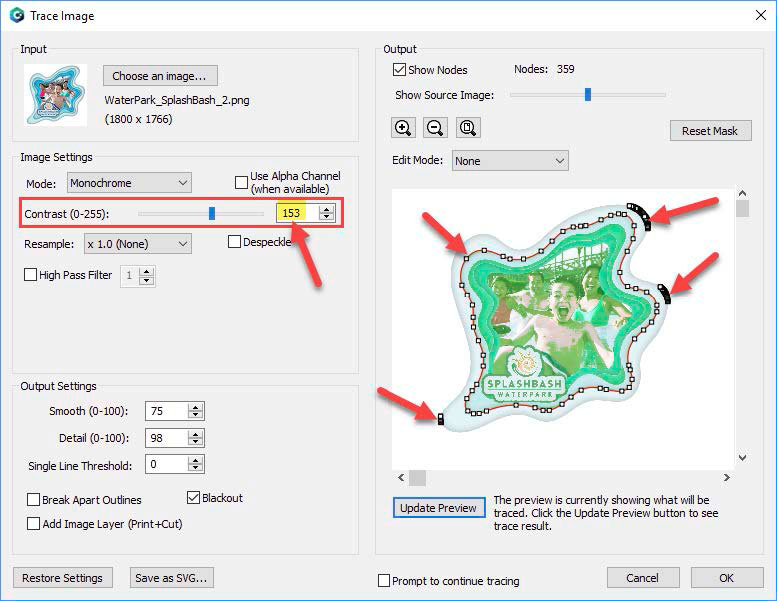
Contrast to Low: If contrast is too low you will end up with extra cut lines outside of the main cut and potentially the wrong shape. In this example the cut line is tracing the wrong part of the image.