4F Setup multiple identical cuts (Duplicate and Array)
If you intend to print and cut a smaller label such a 2” circle you may want to duplicate that image and cut line across the page so that you don’t waste material. No matter what your label size is your page size for die cutting is always 4.25”. It makes sense to fill up that page with as many labels across as you can. Follow these steps to Duplicate images and cut across the page.
1. Create your page size. In this example we chose 4.25” x 4.25”. You can choose a custom size to fit your labels. In this case we wanted to choose a height that was able to accommodate 2 rows and two columns of 2.125 x 2.125 cut to 2” x 2”.

2. Import your image using the import Icon.

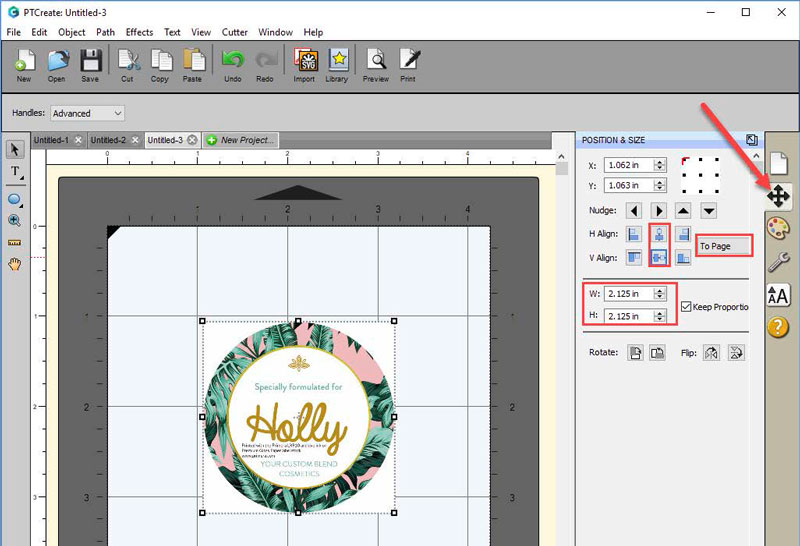
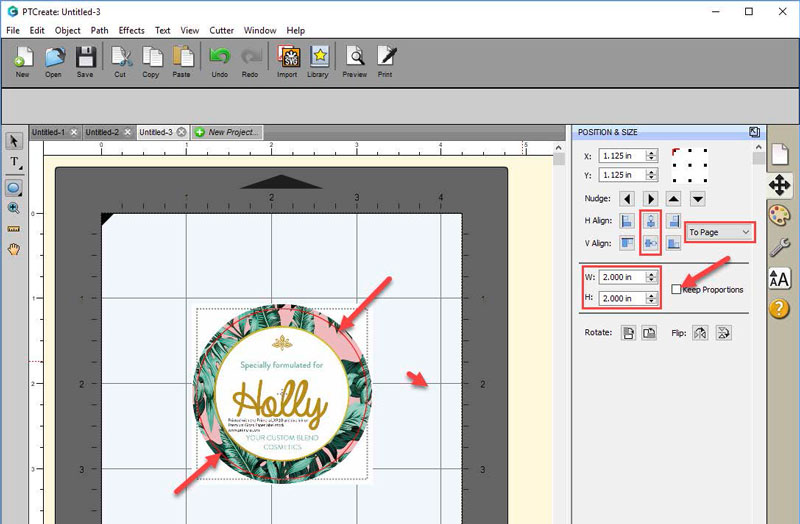
3. Set the Size and Position. In this example we are setting the size to 2.125 x 2.125. Center the image horizontally and vertically.
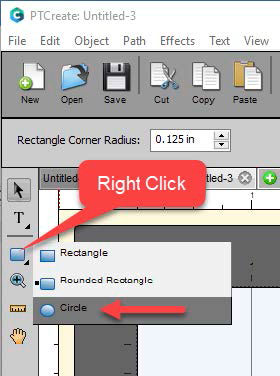
4. Create your cut line using the shape tool on the left size tool bar. Right click on the rectangle icon and choose the circle tool.
5. Draw the circle close to the size of the images. You don’t have to be accurate on this step since we will be changing the size and position in the next step.
6. Set the size to correspond to the actual cut label size you would like. In this case we set the size to 2” x 2 so that we have a standard 1/16” bleed around the label. Uncheck the Keep Proportions box. This will make sure that no labels have any white unprinted areas around the edges.
7. Center the cut line horizontally to the page
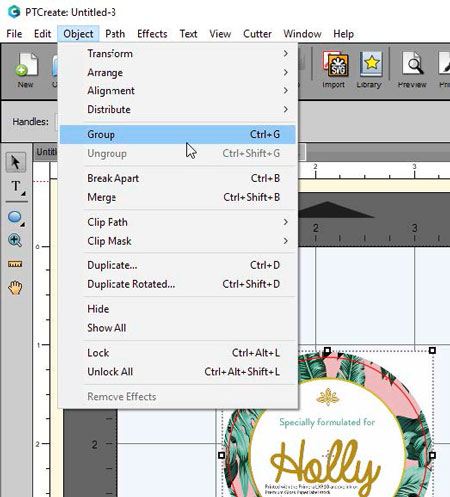
8. Using the arrow tool select both image and the cut line by drawing a box around them.

9. Group them together by going to the Object Menu – Group. This will ensure that cut says with the image and in the correct relative location while we move and duplicate the image in the next steps.
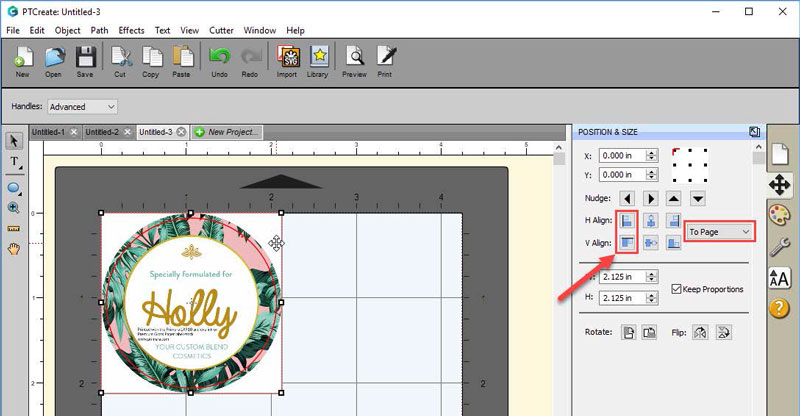
10. Align the group image and cut line to the upper left corner.
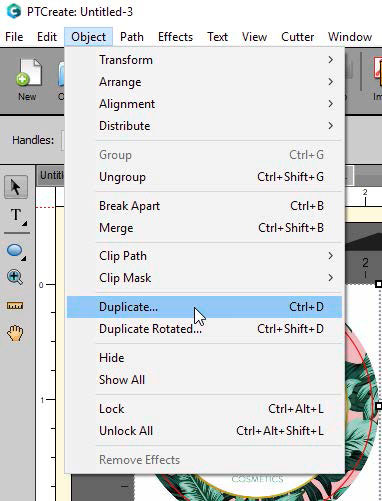
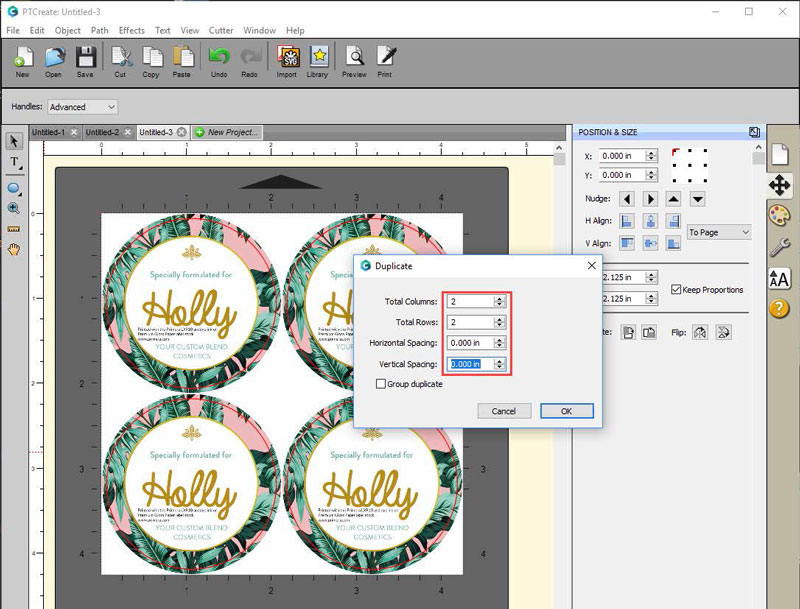
11. Now go to the Object Menu and click Duplicate. Make sure the image and cut line are still selected otherwise the Duplicate item will not be available.
12. Set the number of rows and columns.
13. Set the gap between the rows and columns. In this case we are setting the gaps to zero. We already created a bleed so the cuts will not intersect or be too close to each other with zero gap between prints.
14. To print go to the File Menu and choose Print or click the Print Icon on the shortcut bar. The print dialog will appear. Make sure Print+Cut is selected. Click the Properties button to access the printer settings such as Print Quality, Saturation and Color Matching. For a full explanation of printer driver settings see section 5F.