4D.3 Working with Layers in an Imported Vector File
1Outline
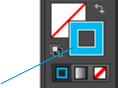
Once you have imported the vector file you view the layers in the layers window. The cut file must separated from the design at the top level. It cannot be buried under other layers that will be printed. In this example the cut line layer is setup in Illustrator as an Outline instead of a Fill. Either will work but Outline is preferable.
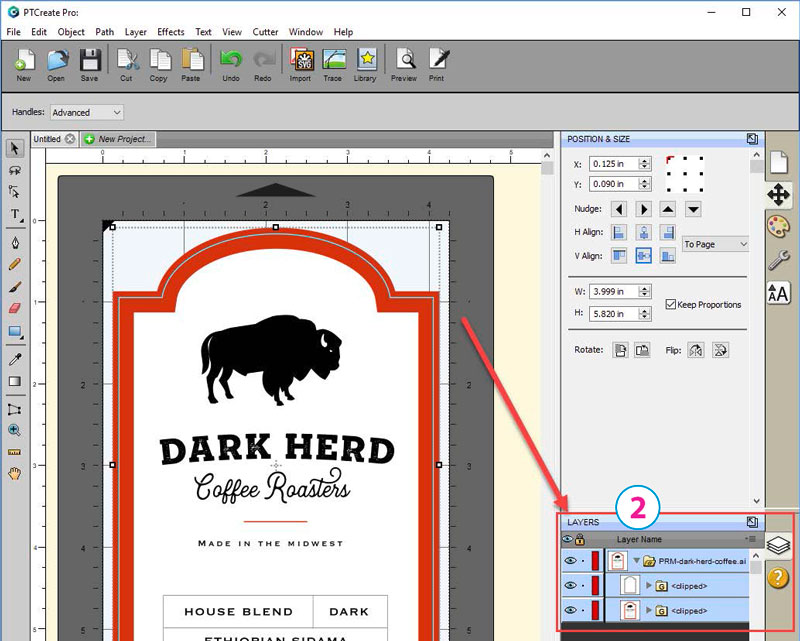
2Click Arrow to open layer groups
1. To view the sublayers and find the cut line click on the arrow to open up the group.
Note: Before printing we recommend clicking the print Preview Button described in section 4H
2. Once you find the cut line, select that layer and click the style tab above.
a. Choose Cut Only!
b. Set Style to Blackout.
3. Now select the Print layer, click on the stye tab above and choose Print Only!
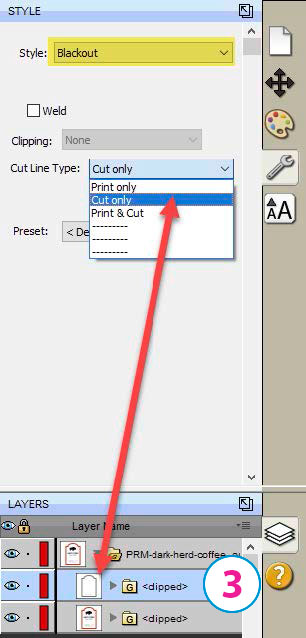
3Layer to be Cut
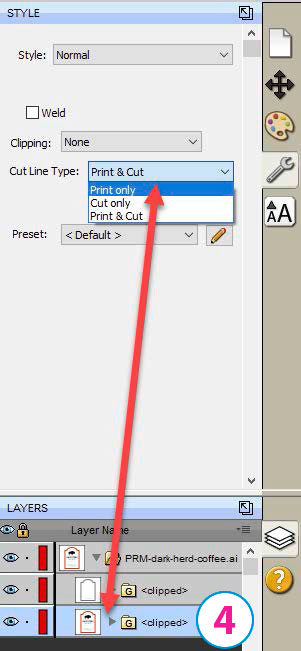
4Layer to be Printed
4. To print go to the File Menu and choose Print or click the Print Icon on the shortcut bar. The print dialog will appear. Make sure Print+Cut is selected. Click the Properties button to access the print er settings such as Print Quality, Saturation and Color Matching. For a full explanation of printer driver settings see section 5F.
5. If you do not choose the Blackout option described in step 2 and 3 you may end up with a double cut that will cut through the liner/backing paper of your label. Check for this in the preview.

5Double Cut Preview
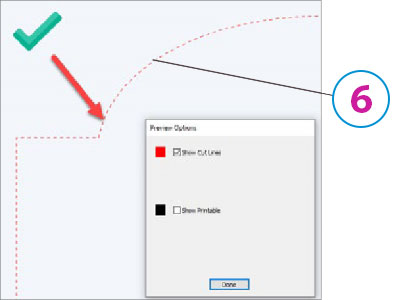
6Good Cut Preview