4E Tutorial: How to Setup a Print and Cut using PTCreate Pro – Contour Cut
This tutorial will walk you through the basic steps to print and cut a label using the trace image / contour cut feature found in the Professional version of PTCreate.
4E.1 Choosing a Label Size (Page Layout)
1. Choose New Project…

2. Set your page size. Since all die cutting media is 4.25” wide the standard maximum width is automatically set to 4.25. In this example we have set the size to 4.25 x 4.25 to accommodate approximately a 4” x 4” label.

1Tip! Set your page larger than the label size to be cut. This will allow you to create a bleed around the label so that you always cut inside your print and get perfect cut every time.
3. To set the page height or width to a custom size type the size in the W: and H: boxes or toggle the size up or down with the arrows.

4E.2 Import an Image.
PTCreate Pro allows you to import flat files and vector files. You can import the following image formats: AI, EPS, PDF, SVG, JPG, BMP, PNG, TIF, GIF.
Important Note: Primera recommends imported images are at least 300 DPI. The software is optimized for this size. Larger DPI images can be manually resized. Smaller DPI images will not utilize the maximum quali- ty of the printer and may appear pixelated. Images downloaded from websites are typically made to display only onscreen load quickly so they are typically only 72 DPI.
To import an image for printing follow these steps.
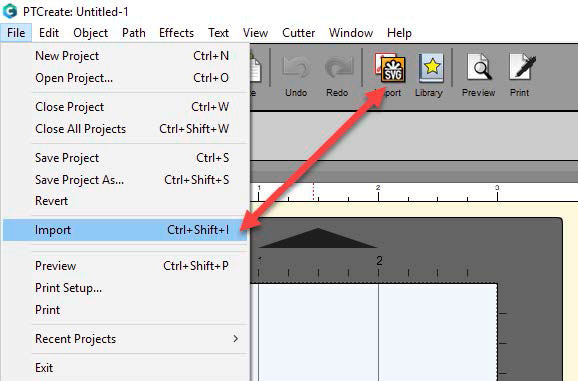
1. Go to the File Menu or shortcut bar, choose Import.
2. Browse to the file you would like to use and choose Open.
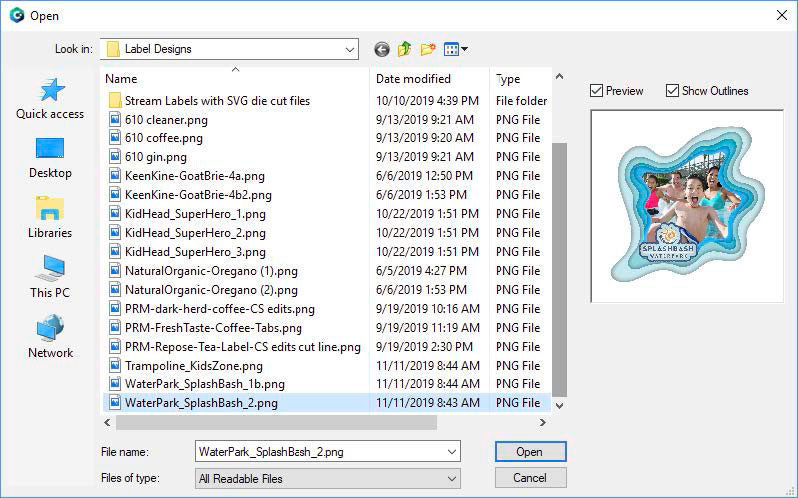
3. The file will appear on your page layout.
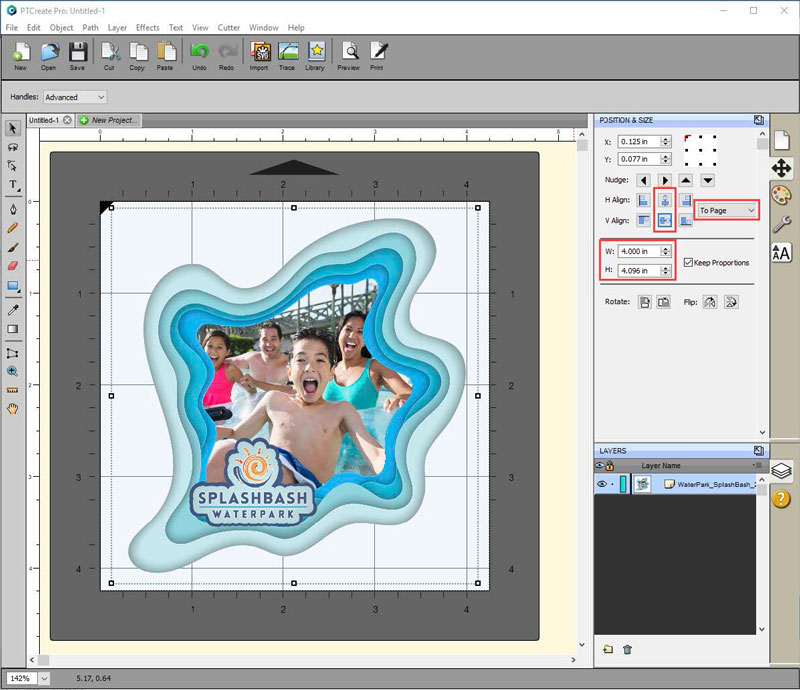
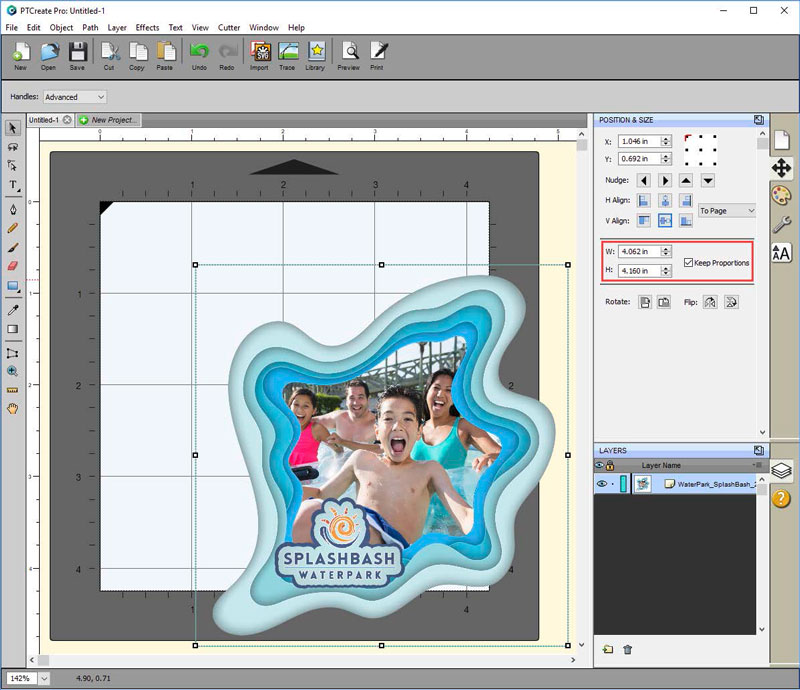
4. You can manually move it on your page or increase the size. However, a better option is to use the Position and Size window. Set the size to match the size of the page layout. In this case set the width to 4” and check the Keep Proportions box.
5. Center the image horizontally and vertically to the Page.