6F Printing from Swift Publisher (Pre Die-cut Stock Only)
Swift Publisher is an inexpensive software that can be used to design/layout and print your labels if you are using a Primera label printer attached to a Mac. Below is a tutorial on how to setup a label using Swift Publisher by Belight.
Download a Free Trial Here: https://www.swiftpublisher.com/
Note: This section only applies to Pre Die-Cut Stock. For an explanation of stock types, please see section 2A.
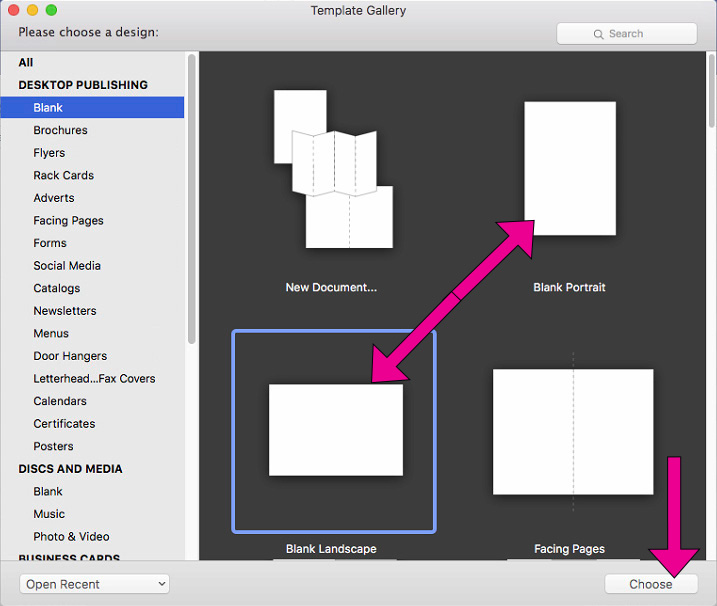
When you open the software for the first time you will be asked to choose a Template. Select Desktop Pub- lishing – Blank. (Do not choose from the “Labels” category!) Choose either blank landscape or portrait. Click Choose.
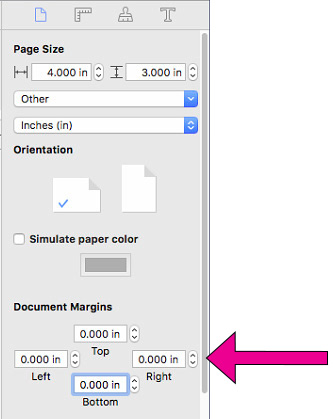
1. It automatically defaults to 8.5 x 11. We will need to adjust the page size and the margins.
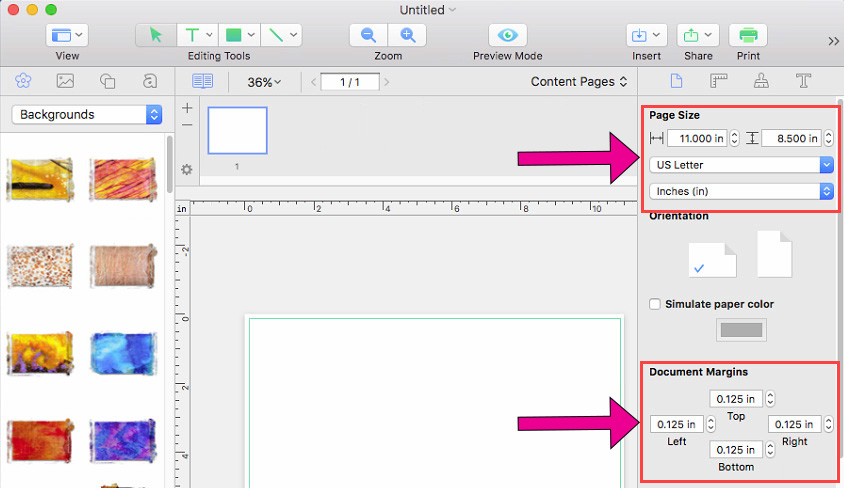
2. Type in the size at the top.
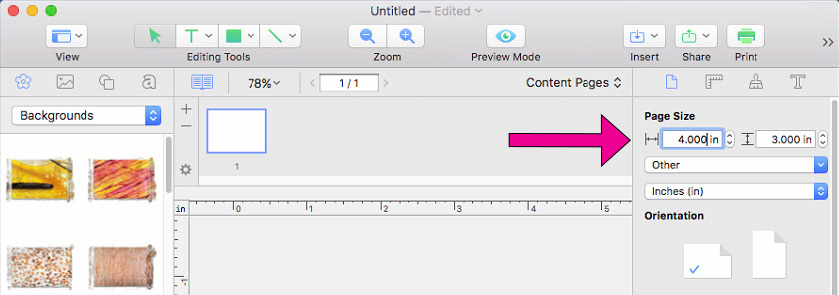
Important Note: The page size is not the same setting as the label size. In many cases you will choose the same size for both. However, if you change the orientation of the label so you can see text/graphics up- gright on screen but the actual print will be rotated, you may need to choose the opposite setting for the label size. For example: Page Size = 3x4. Label Size = 4x3. Do not change the orientation as it will change the page size. Orientation is set automatically depending on the page size.
3. Next, set all margins to zero. This will allow you to create designs that completely fill the label.
4. Add Text, Barcodes, shapes and images to your design.

1Add Text
2Add Shape
3Add Image
4Change Font
5Toggle Page Setup menu visibility
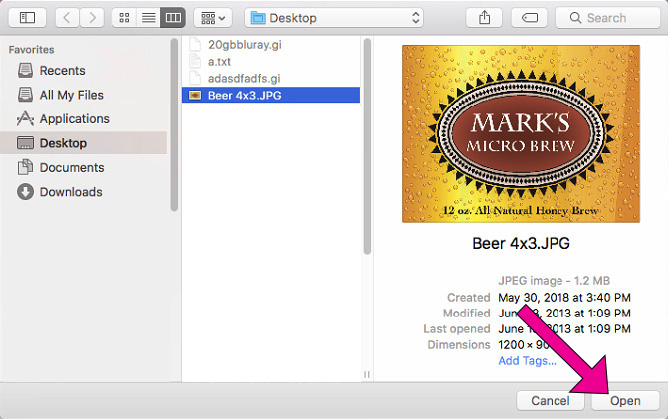
5. For this example, we will add an image that we created. Click the insert Icon and choose Image from file….
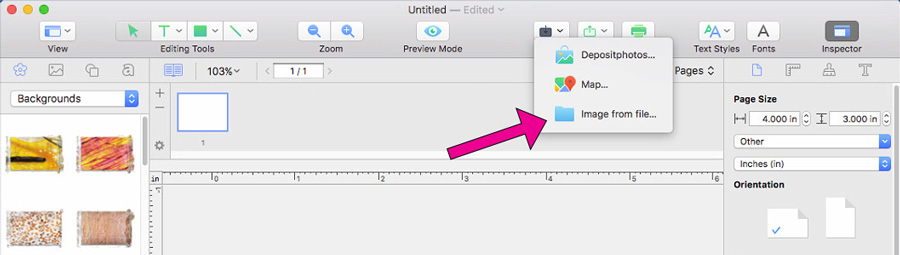
Note: You can also add images from the Backgrounds menu included with Swift Publisher. Simply drag them to your template.
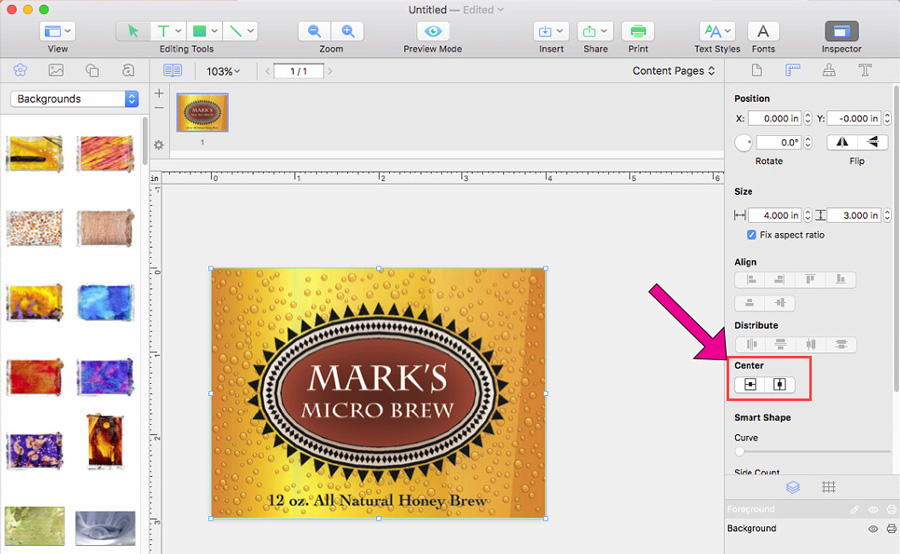
6. Once your image is imported into your template you will need to adjust the size to fill the entire template (if that is your intention). Adjust the size by clicking the ruler icon in the Inspector with the image selected. Check the “Fit aspect ration” box and then type in your size.
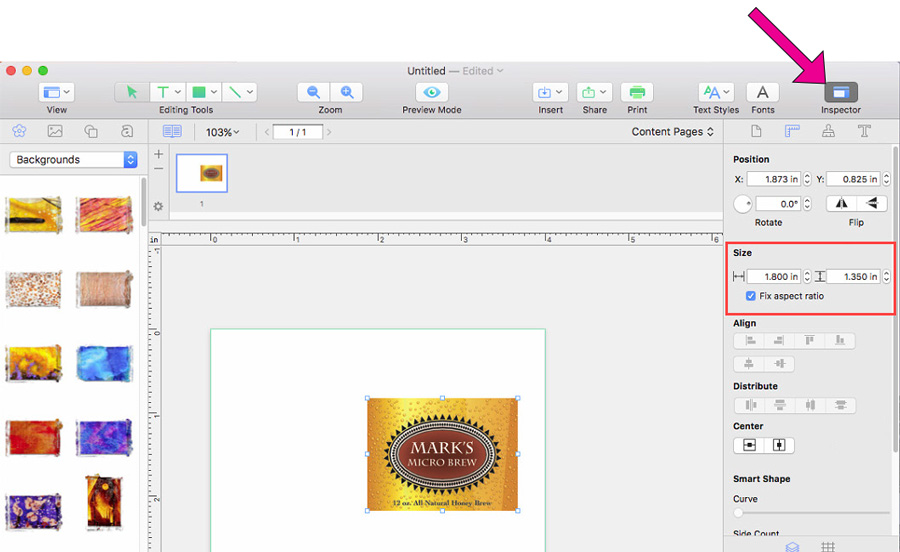
7. Now center the image by clicking both the horizontal and vertical centering buttons.
8. You are now ready to print. Click the Print icon to open the print dialog box.
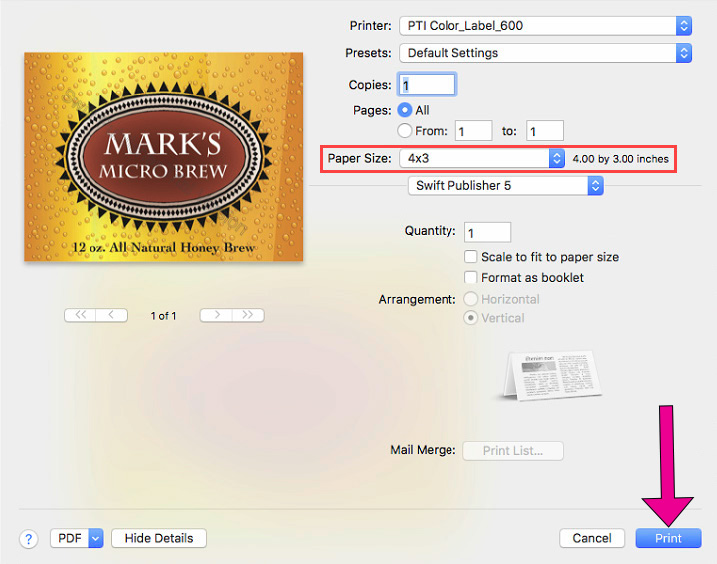
9. The default label size is 8.5 x 11. You can see this is not correct by looking at the preview. Always adjust the Paper Size to match the label stock size installed in the printer.
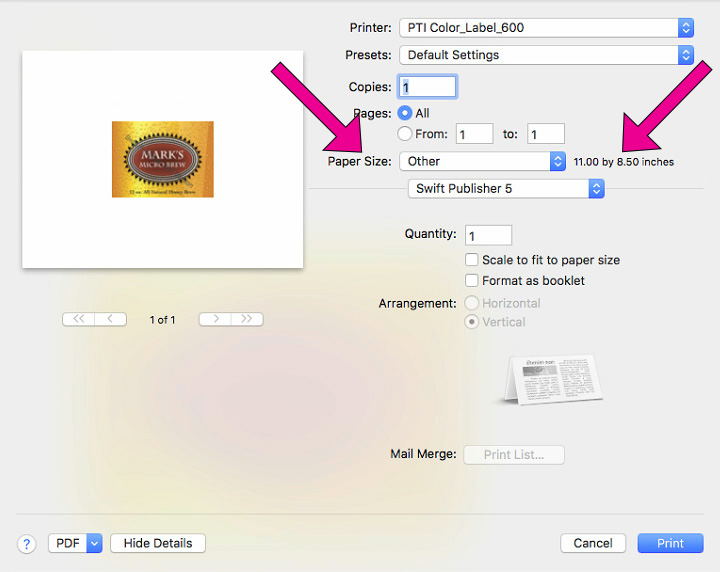
10. In this case we can choose a preset size (4x3) to match the label size installed in the printer.

1Choose Manage Custom Sizes… if your label size is not listed
11. You can now see the preview is correct, the paper size is set so you are ready to print.