4C Software Deactivation
To move the activation to another computer you will need first remove the activation from this computer.
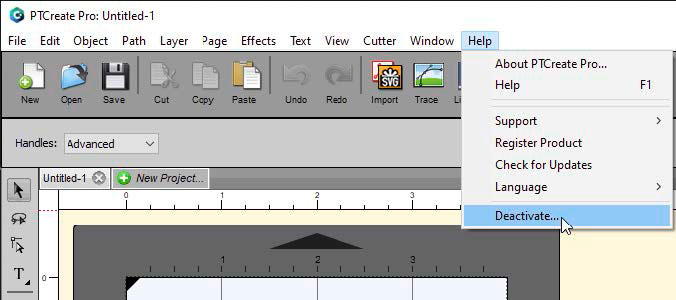
To remove activation, go the Help Menu – Deactivate…
A confirmation prompt will appear.
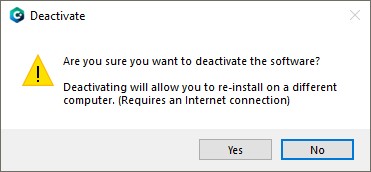
Important Note: Deactivation requires internet access!
If you are unable to deactivate because of a computer crash, please contact tech support to receive another activation code. If you have the Pro version, please have your order number ready to speed up the process.
4D: Tutorial: How to Setup a Print and Cut using PTCreate Pro – Vector File Cut
If you have a designer that is able to use an advanced program like Adobe Illustrator or Corel Draw, you can save your print file and cut file together as a multi-layer vector file in AI, EPS, or SVG format.
You can then import them into PTCreate and designate which layer will be the cut and which will be the print. This will allow you to create complex cuts in exactly the right shape and exactly the right position. This method is the best way to get the highest quality print and cut. While tracing the image using the steps in the previous section will allow you to create the same shapes, you can save time and create a smoother cut file using this method.
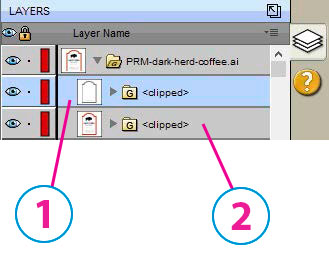
1Print Layer
2Cut Layer
Important Note: Before you start with PTCreate, your designer should create the print and cut line togetherand save them as two separate layers in the same file. You’ll be able to see these layers when you import the file into PTCreate.