Section 5: Printing Using a PC
5A Using BarTender
BarTender DTM Version is included. You can download it at the link below. Use the code below when prompted after installation.Download: https://portal.seagullscientific.com/downloads/bartender
Code: Z1J6-MY8X-N2B2-R2LH
Other programs can be used to print. If printing from other programs please follow the guidelines in Section 3D.
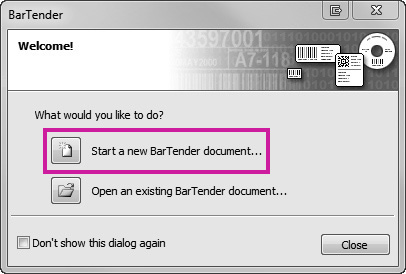
When you open BarTender you will be given the choice to select an existing label or create a new one using a wizard.
1. Choose “Start a new BarTender document...”
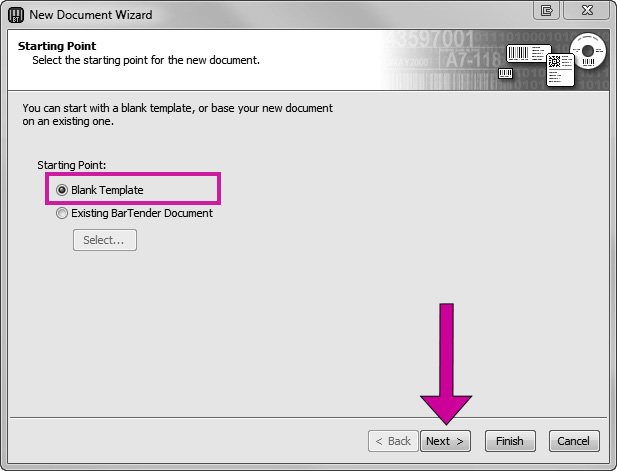
2. Select “Blank Template”. Click “Next”.
3. Select “Color Label 500”. Click “Next”.
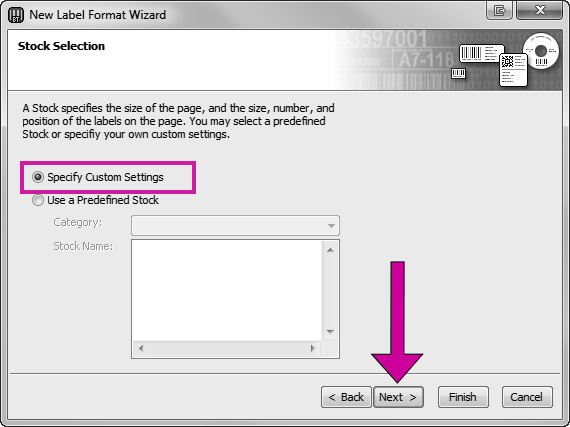
4. Select “Specify Custom Settings”. Click “Next”.
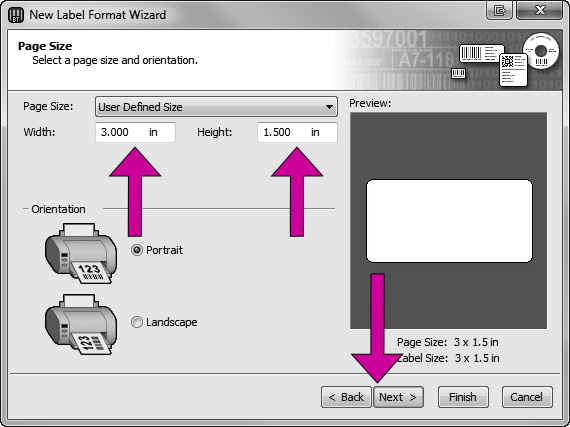
5. Set the page size, width and height to match labels installed in the printer. Click “Next”. Important: Measure the label stock if you are unsure about the size.
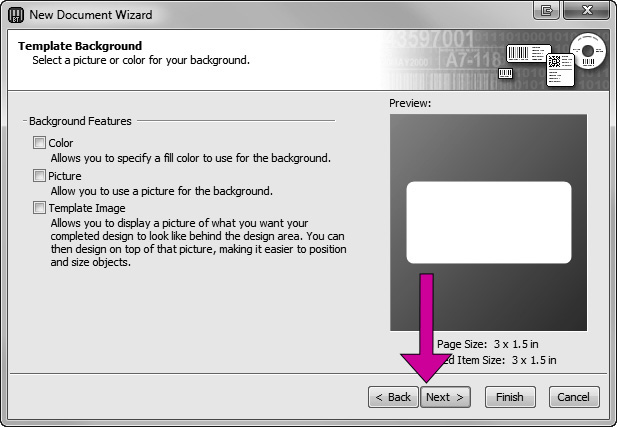
6. Check the “Picture” box to add a background photo or graphic to your label. Click “Next”. If you click “Finish”, the remaining default wizard options will be set and no picture will be added.
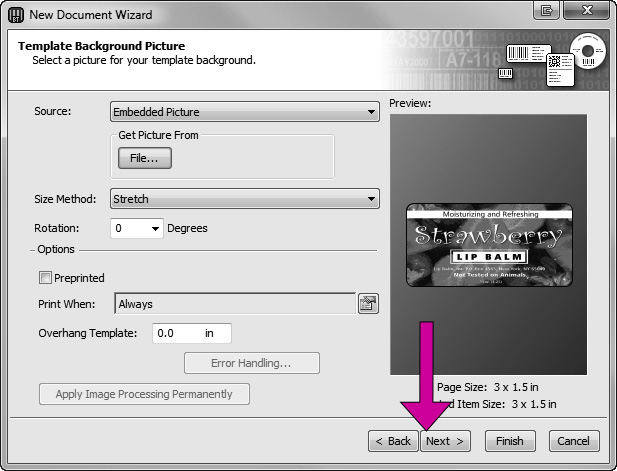
7. Select “Embedded Picture”. Click the “File” Button to browse to the location of your photo/graphic file. Set the Size Method to “Stretch”. Note the preview to the right. Click “Next” if you are satisfied with the layout of the photo or graphic.
8. Review the label setup summary. If it is correct, click “Finish”. Your blank label will be displayed.
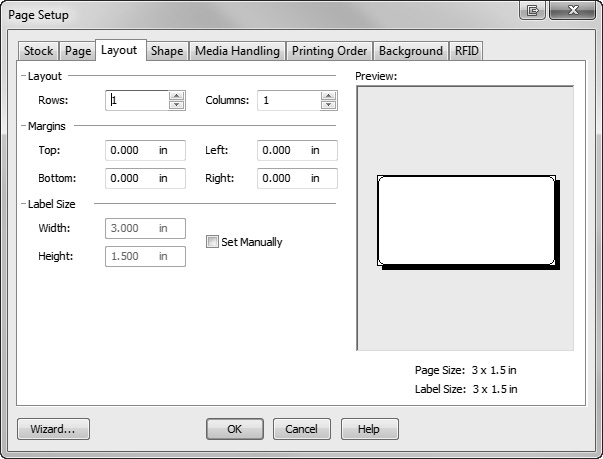
After you click Finish, you can always go back and change any of these settings, by going to the File Menu and selecting “Page Setup”. Basic and advanced settings are available on the various tabs.