1E. Install the Print Head
You will need to install a print head before you use the Printer the first time. After that, you should replace your printhead when you start to notice quality problems. The print head is warrantied for seven ink tank changes of any one color: Cyan, Magenta, or Yellow.
Note: Please ensure that the ink tanks are installed before replacing the print head.
Recommended Cleaning between Print head Changes. We recommend cleaning the copper contacts on the cartridge carrier each time you change Print heads. See step 6 below.
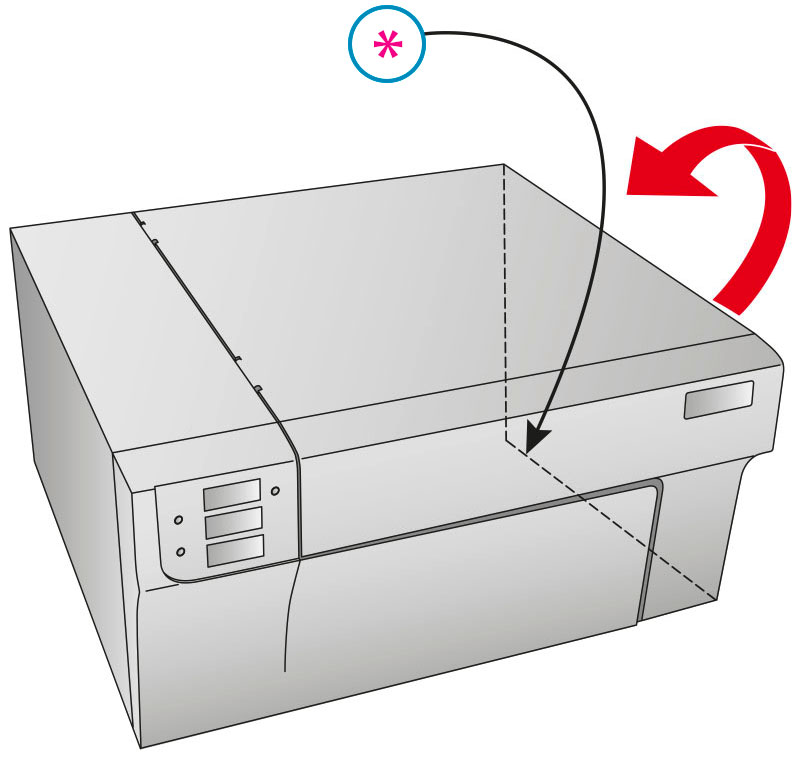
- Open the Cover
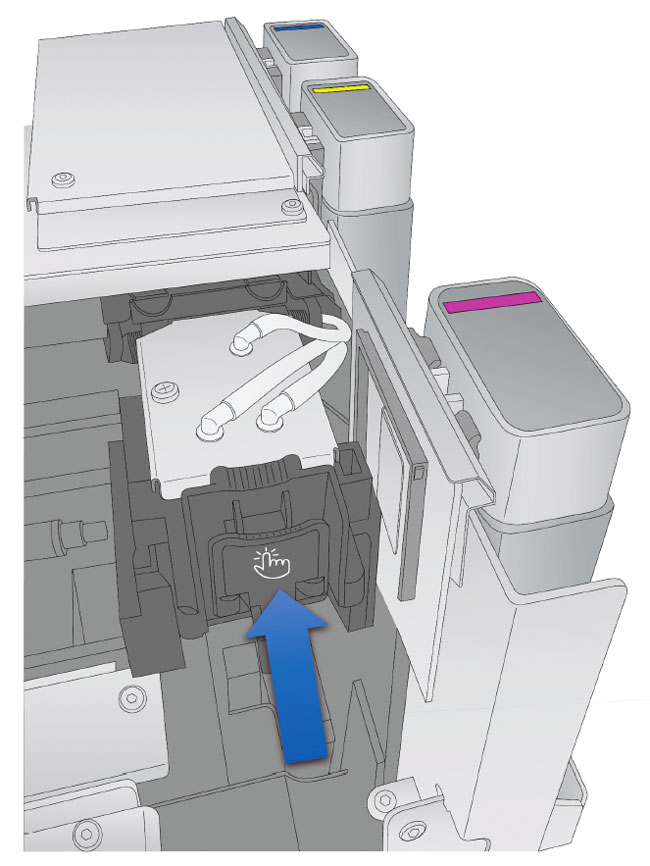
- Press or pinch the tab on the front of the cartridge holder.
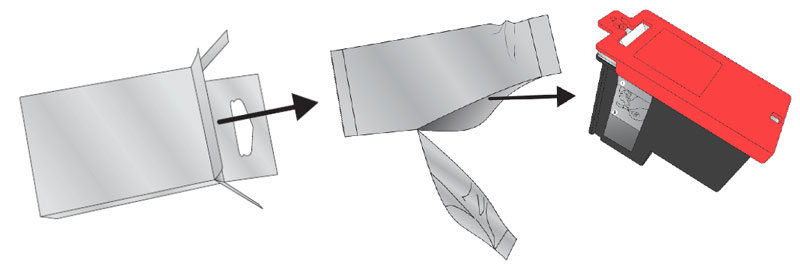
- Locate a new cartridge and remove it from its packaging. Remove the foil outer package.
- Remove and discard the red protection cap and peel off the tape covering the nozzle.
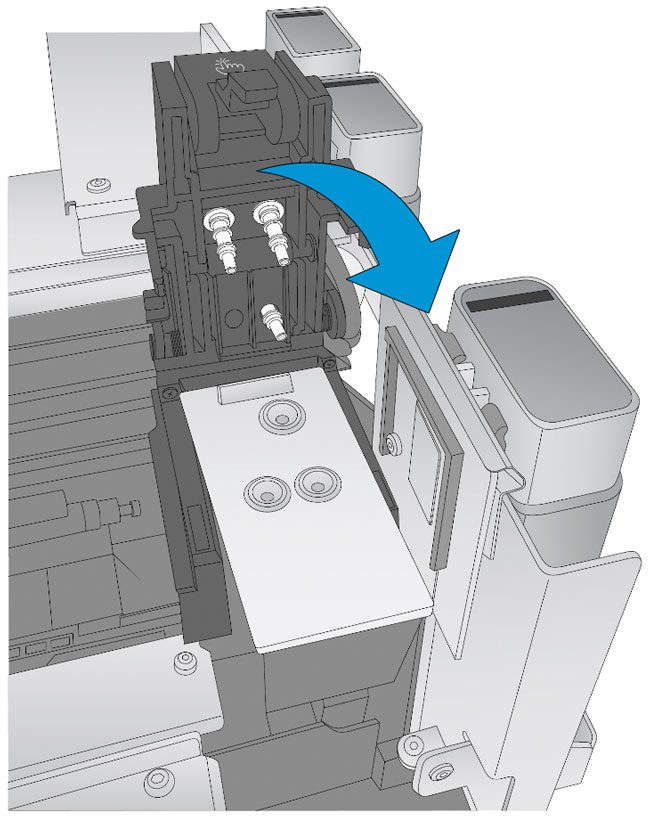
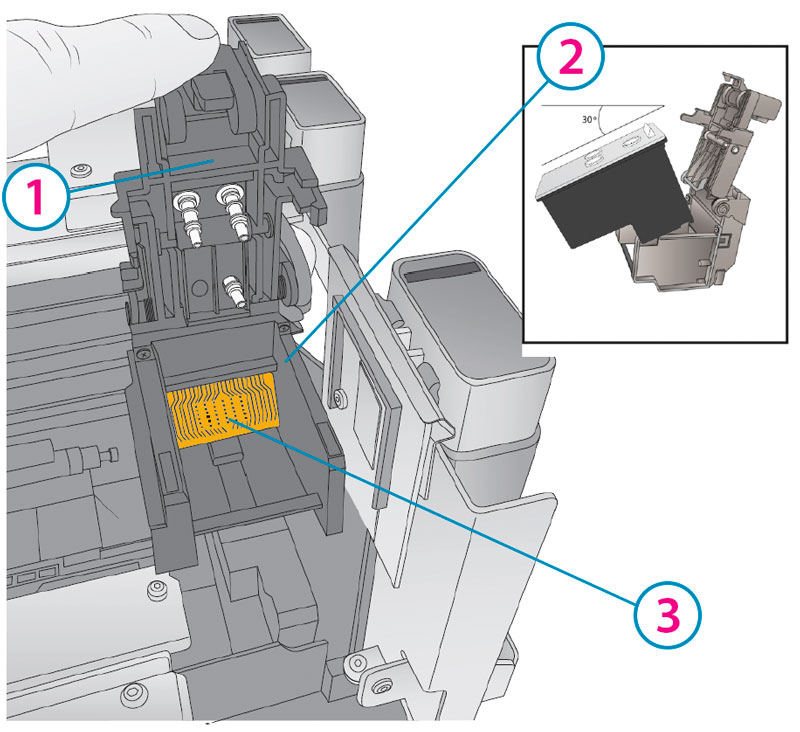
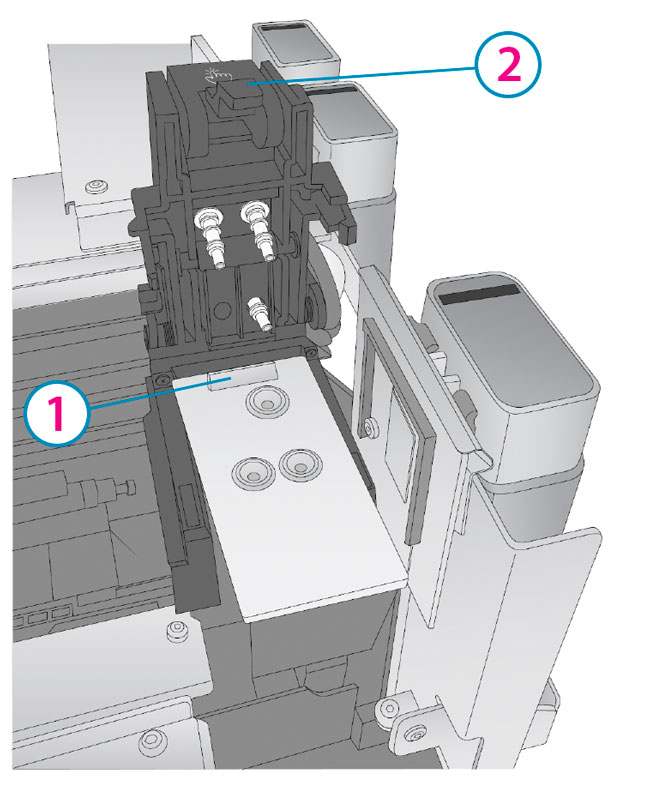
- Hold open the print head carriage latch while you insert the print head.
Note: When installing the print head, tilt the cartridge at a slight backward angle of approximately 30 degrees. - Press down firmly near the back of the print head to ensure good contact and proper alignment when you close the lid.
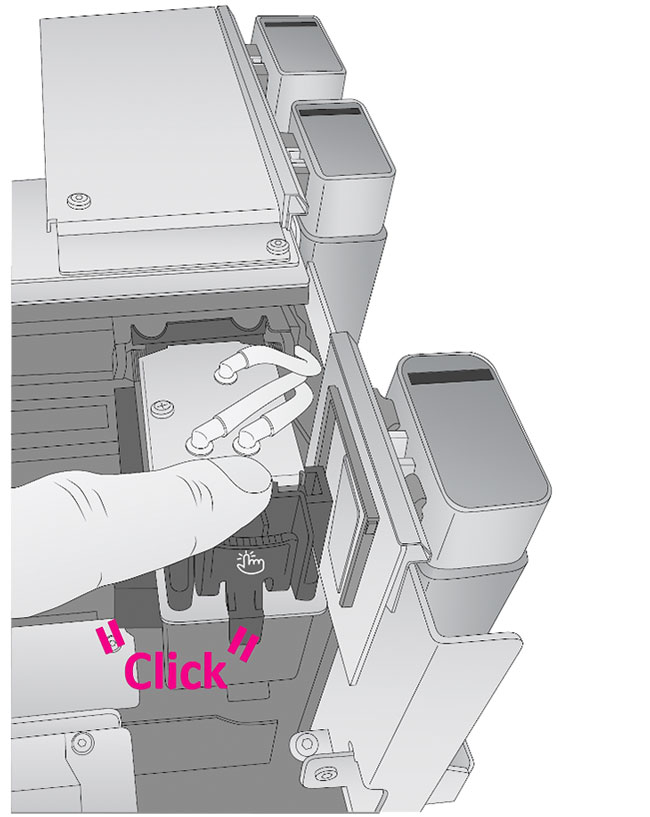
- Close the lid on the print head by lightly pressing down from the top until you hear a click!
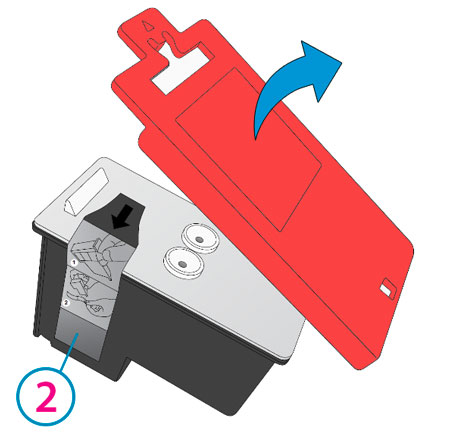
*Lift from back corner of Cover
1Lift here
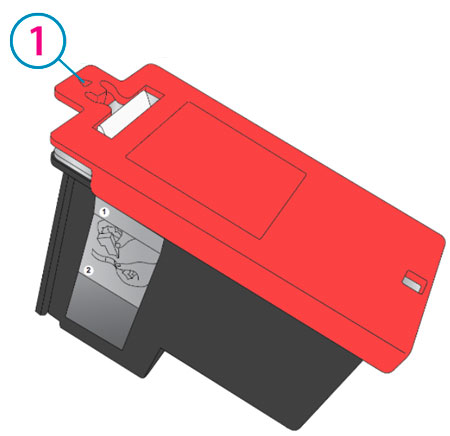
2Tape
1Print Head Carriage Latch
2Side View
3If you are replacing an old print head, clean the copper contacts with an isopropyl alcohol wipe.
1Press here
2Continue holding the print head latch while you install the print head.