4A Using BarTender
BarTender DTM Version is included. You can download it at the link below. Use the code below when prompted after installation.Download: https://portal.seagullscientific.com/downloads/bartender
Code: Z1J6-MY8X-N2B2-R2LH
Other programs can be used to print. If printing from other programs, please follow the guidelines in Section 4D.
Use the following instructions as a guide through the wizard setup process.
Choose "Start a new BarTender document..."
- Select "Blank Template". Click "Next".
- Select "Edible Ink Printer". Click "Next".
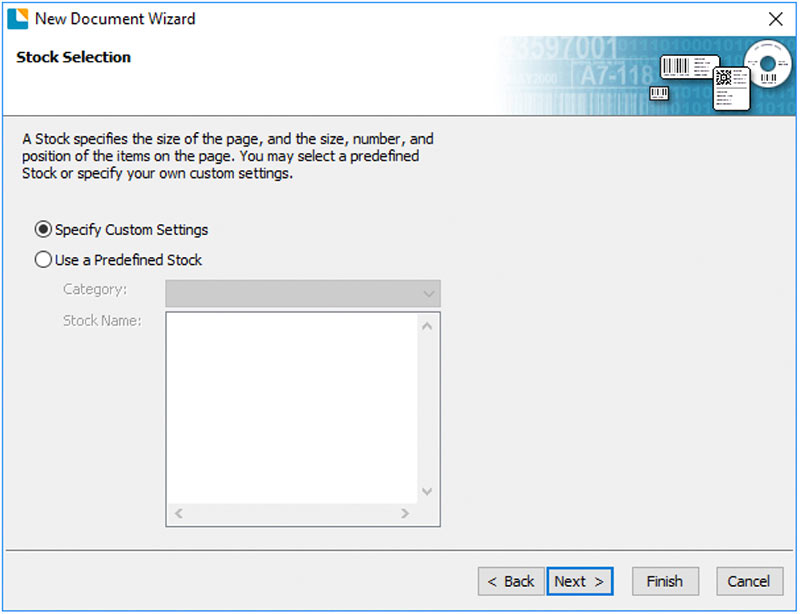
- Select "Specify Custom Settings". Click "Next".
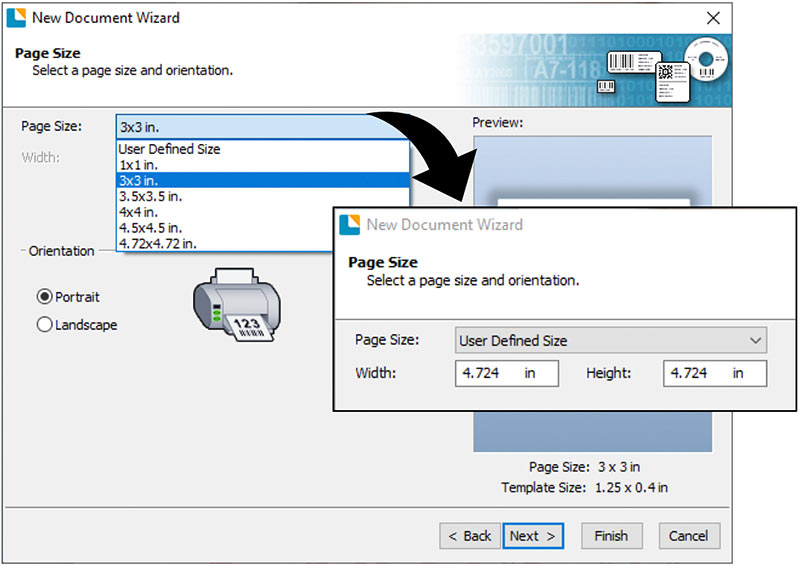
- Set the page size to one of the options available in the dropdown menu.
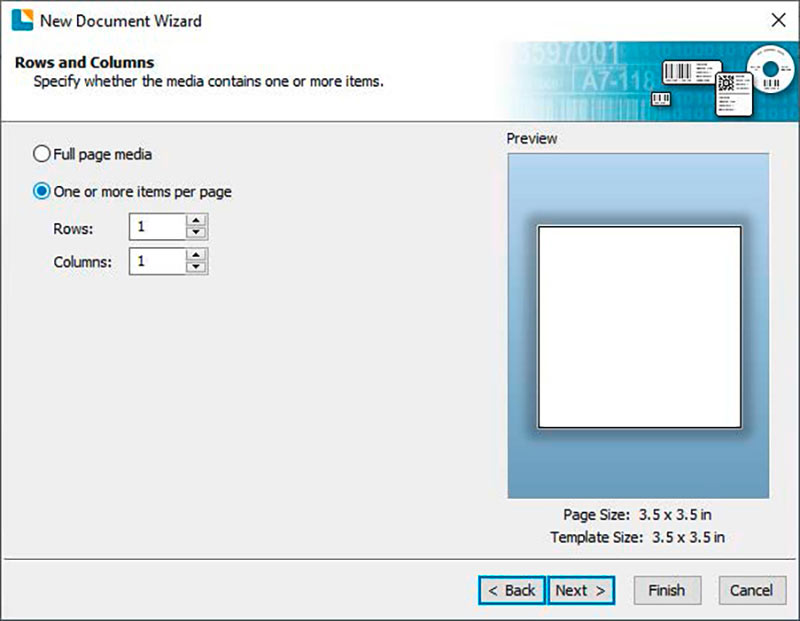
Or click User defined size to set your own size up to 120 mm x 120 mm (4.72” x 4.72”). This size should be as large or larger than your cookie. Measure the cookie, not the cookie cutter. If you are using an adapter or coaster, set the size to match the adapter/coaster. - Select “One or more items per page”.
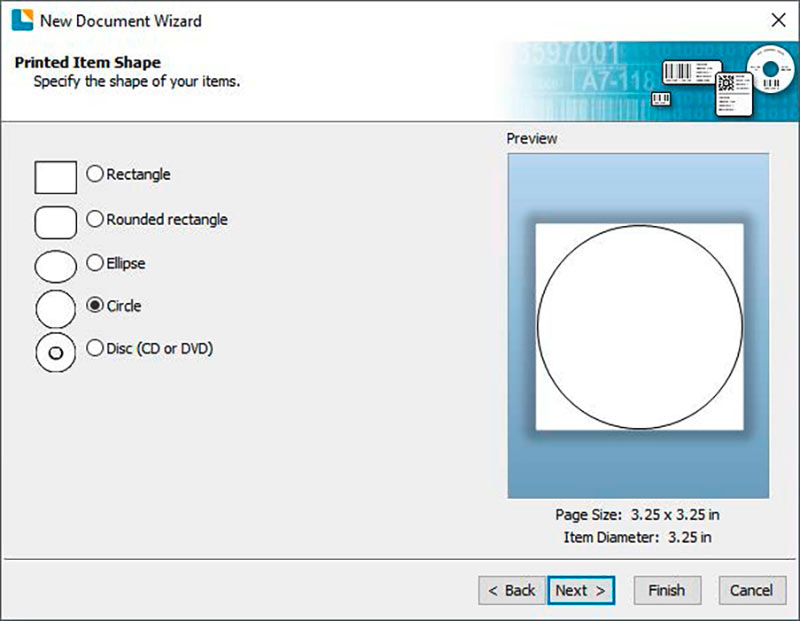
- Select your label shape. This should be a circle if you are printing circular cookies.
- Set all of the margins to zero. Click "Next".
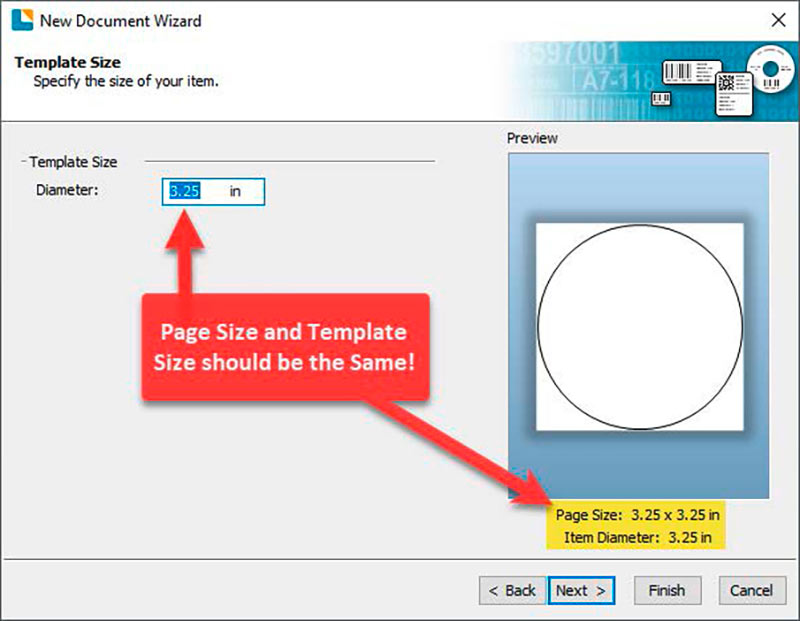
- Set Template Size to be the same as page size set in step 5. Click "Next".
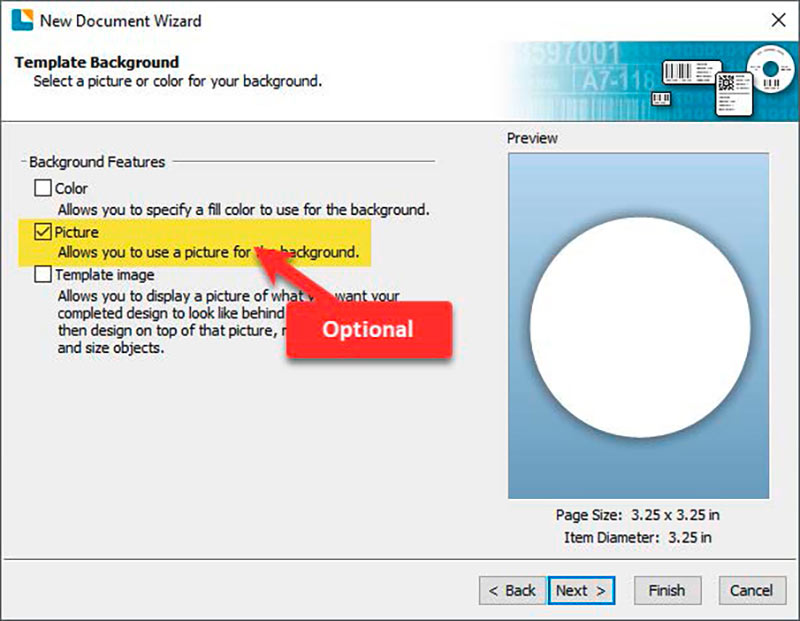
- Check the “Picture” box to add a background photo or graphic to your label. Click
“Next”. If you click “Finish”, the remaining default wizard options will be set, and no
picture will be added. Adding the picture as a background as it will automatically crop
any square you add to the design to fit inside the circle, and ONLY the portion inside the
circle will print. If you want more control of your image placement, uncheck this box
and use the image tool to place your image.

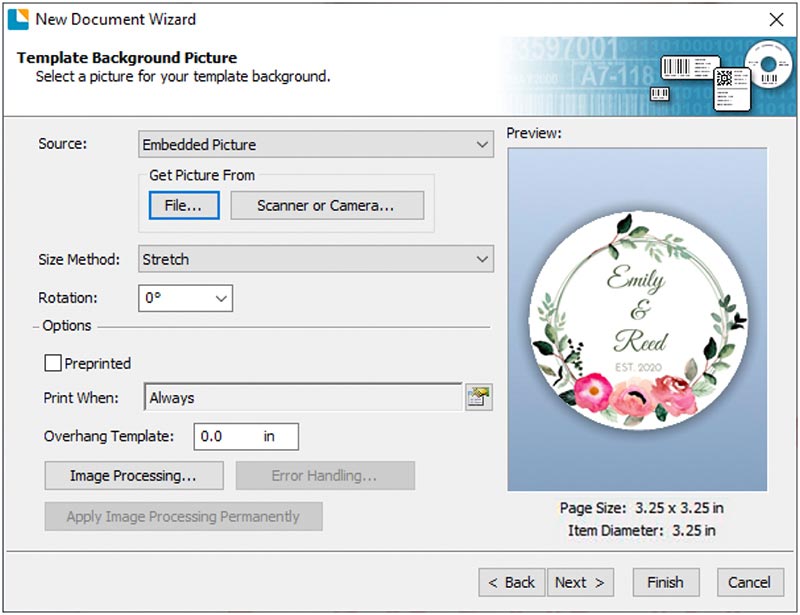
- If you check Picture, you will see the next screen. Select “Embedded Picture”. Click the “File” Button to browse to the location of your photo/graphic file. Set the Size Method to “Stretch”. Note the preview to the right. Click “Next” if you are satisfied with the layout of the photo or graphic. Otherwise, you may try one of the other Size Methods in the drop-down menu.
- Click Finish to open the template.
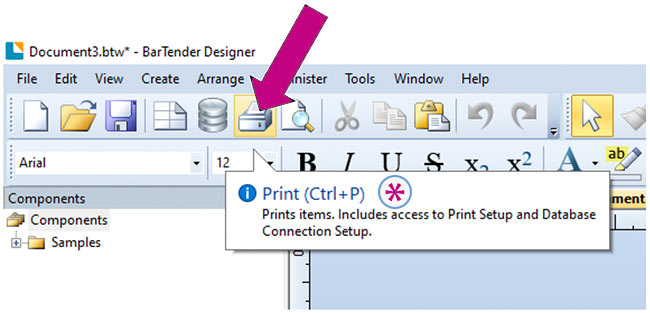
- When you are ready to print, click the Printer icon or go to file print.


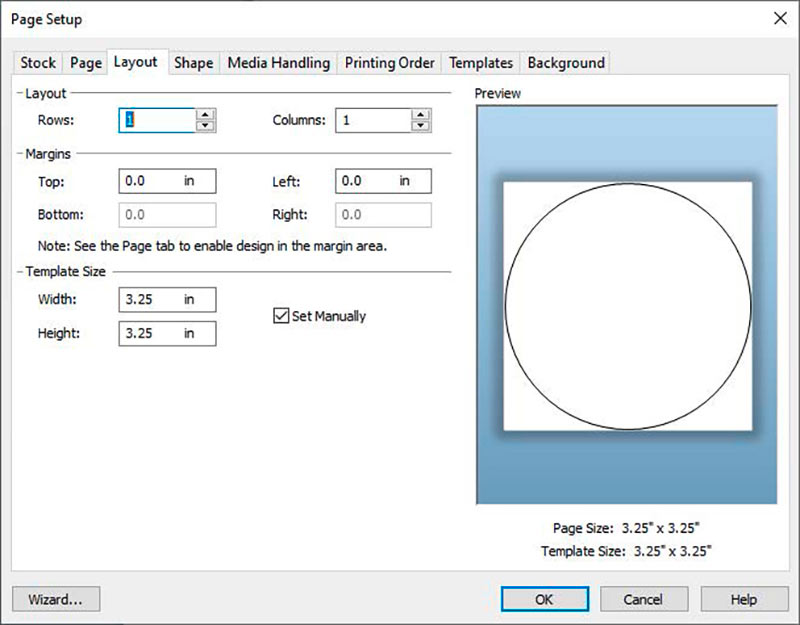
You can edit any of these initial settings by going to the File Menu and selecting “Page Setup” or click the Page Setup Icon. Basic and advanced settings are available on the various tabs.

*Print items. Includes access to Print Setup and Database Connection Setup.
Important Note: The first time you print or any time you print after you power on the Printer, the Carousel will move one quarter turn and skip 3 cookies before printing. This is to ensure proper calibration of the Carousel Platter.